
How to create a Channel Pass
Channel Passes are an alternative way for your fans to enjoy your content. Passes give fans access to all your content for a specific time period (currently you can activate a 1 day, 3 day, 7 day 14 day and 28 day pass for your channel) and you set the price.
You can activate up to 4 different duration channel passes at a time, they will be available for fans to purchase when you make them available.
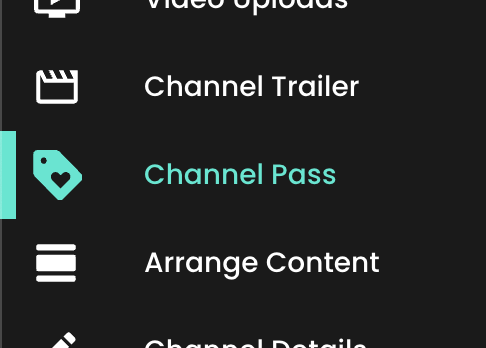
You can create, view and edit your channel passes by selecting ‘Channel Passes’ on the left-hand menu.
Creating your first channel pass
When you first land on the Channel Pass section you will see our initial screen with a button which allows you to ‘Create your first Channel Pass’. Simply tap this button to get started.
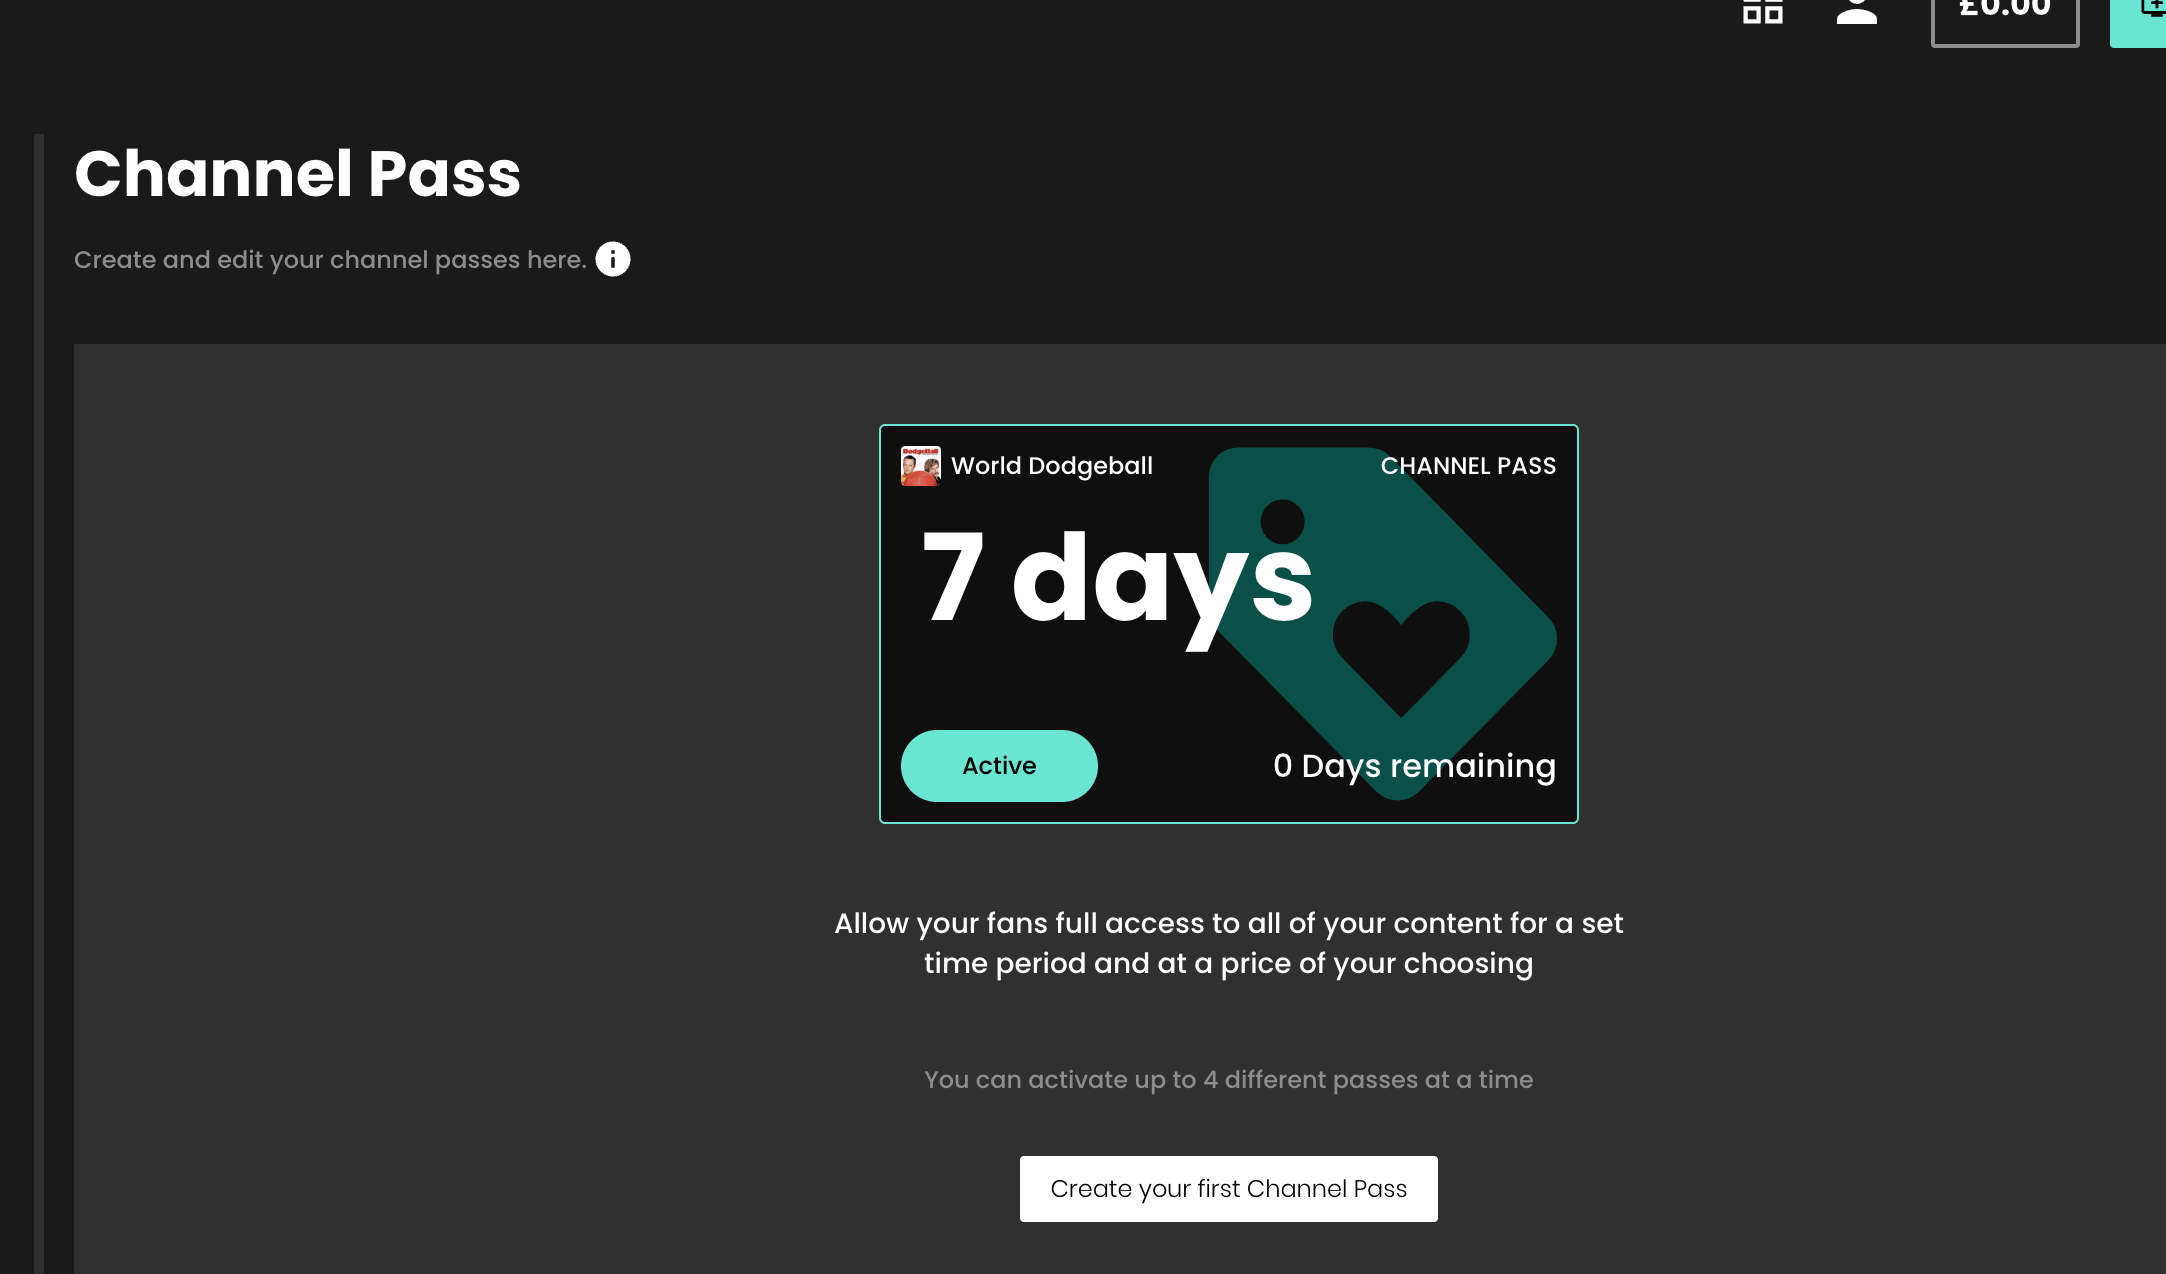
You will now see the ‘Create Channel Pass’ screen.
Firstly from here, give your Channel Pass a name. This will not be visible to any of your fans, but acts as an internal reference for you to track the success of different channel passes you may have active at certain times.
Secondly, set the duration for your Channel Pass. This can be either 1 day, 3 days, 7 days or 28 days. nb. you can only have a maximum of 1 pass of each type (1, 3, 7, 14 or 28 days) available for purchase on your channel at any time.
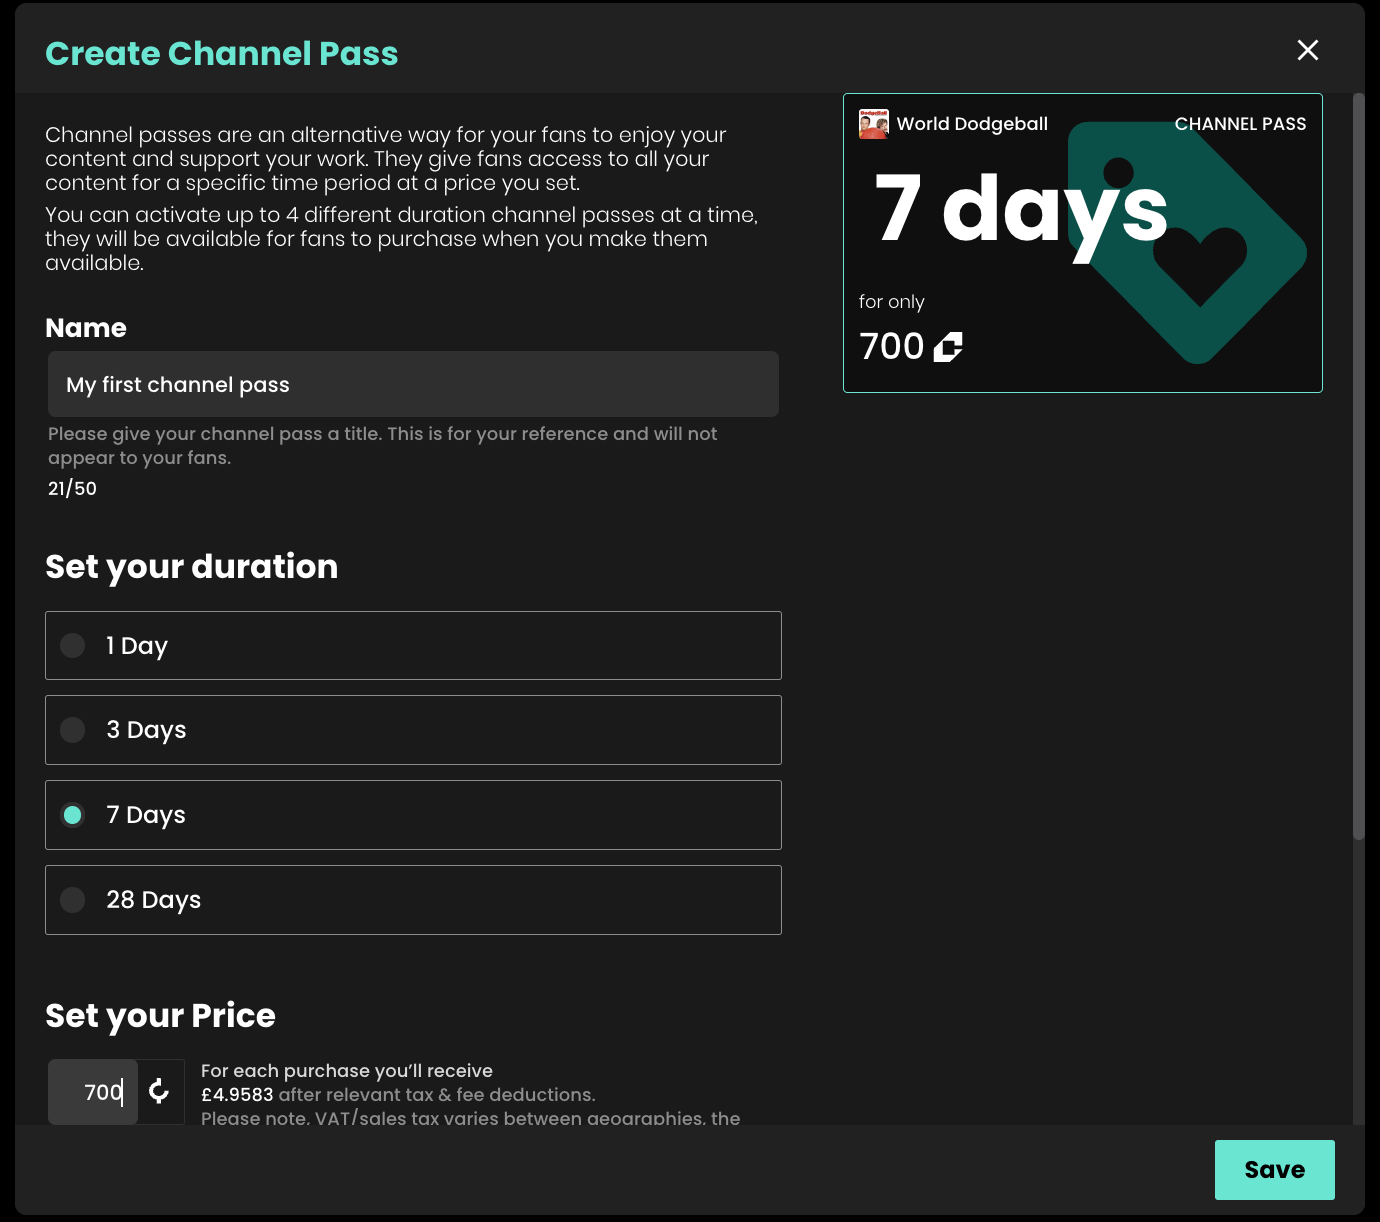
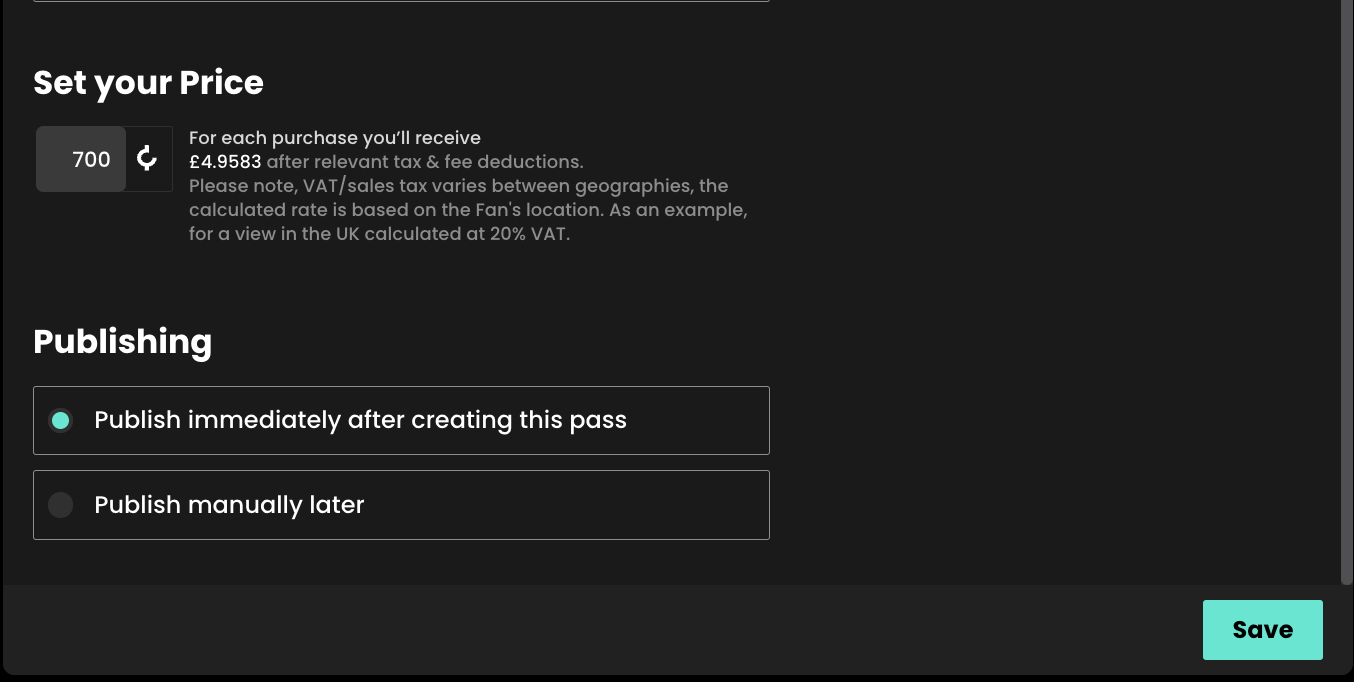
Finally choose a price for your Channel Pass. Remember for this price, fans can access all of your videos and live events whilst the pass is active so make sure your pass reflects the value of this access.
You can then choose to save and publish the pass immediately (which will enable the pass for sale straight away) or choose to ‘Publish manually later’.
Then when you are happy with your selection, simply tap the ‘Save’ button in the bottom right corner
Viewing your passes
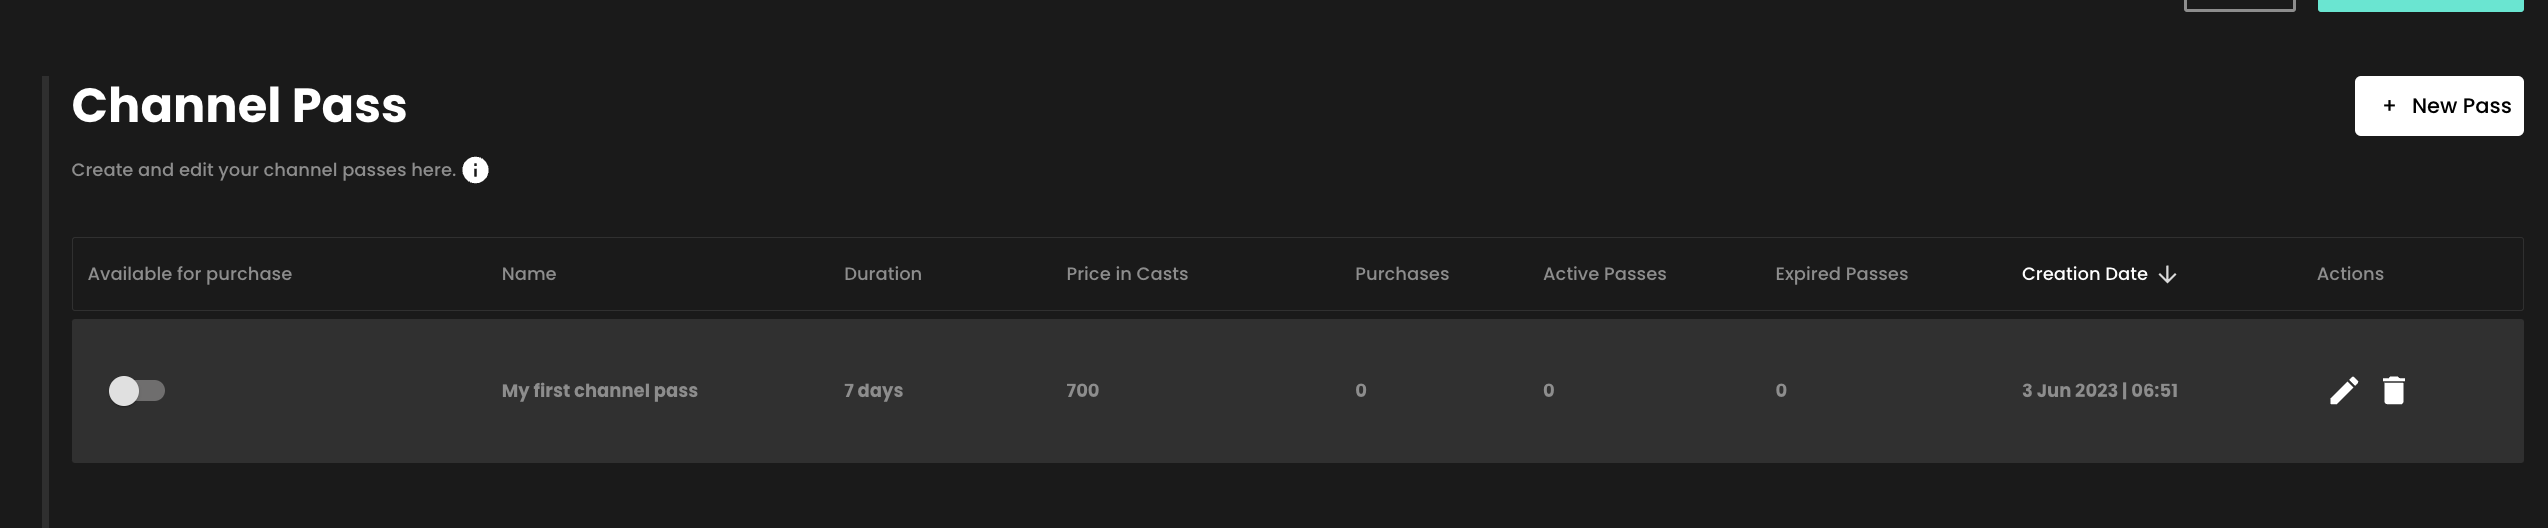
Once you have created your first pass, you will then be able to see any passes you have created under the Channel Passes section.
You can see which are currently active and available for purchase, see the name of each pass, the duration, price and number of purchases it has, as well as the creation date.
From this section you can also edit or delete your passes using the edit and delete icons respectively.
You can easily make your passes available or unavailable for sale from this screen by tapping the switch under ‘Available for purchase’.
Please note that setting a pass to unavailable stops it from being available for sale, but will not invalid any active passes your fans may have previously purchased. This will remain active until their expiry date (1, 3, 7 or 28 days from the purchase date as relevant).
Editing your Channel Passes
You can edit your pass by tapping the edit icon. You can currently only edit the title of your pass, or change whether the pass is published (available for sale) from the edit screen.
You cannot change the price or duration of the pass. This is so that you can keep track of passes of different lengths and price points easily.
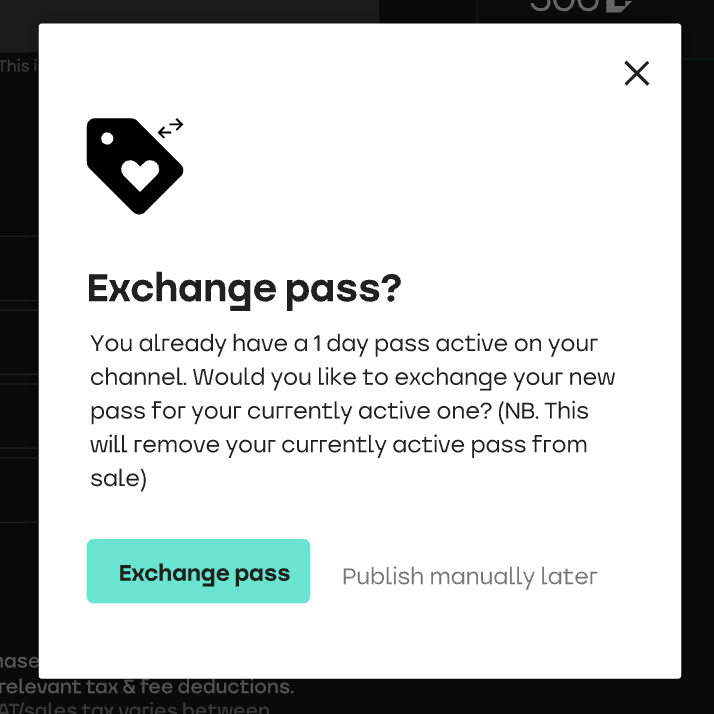
If you would like to change the price of a certain pass, simply create a new pass of the same length and set it to the new price. You will receive a warning when doing this that the currently active pass of the same length will be disabled.
Deleting a Pass
If you have a pass that has yet to have any purchases, your can delete this from your list by tapping the delete icon on the Channel Pass list view.